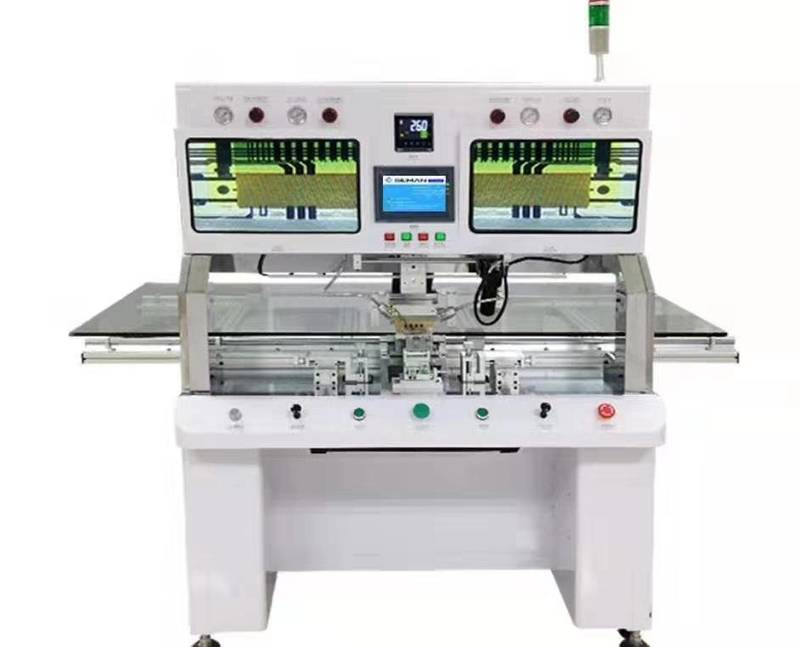
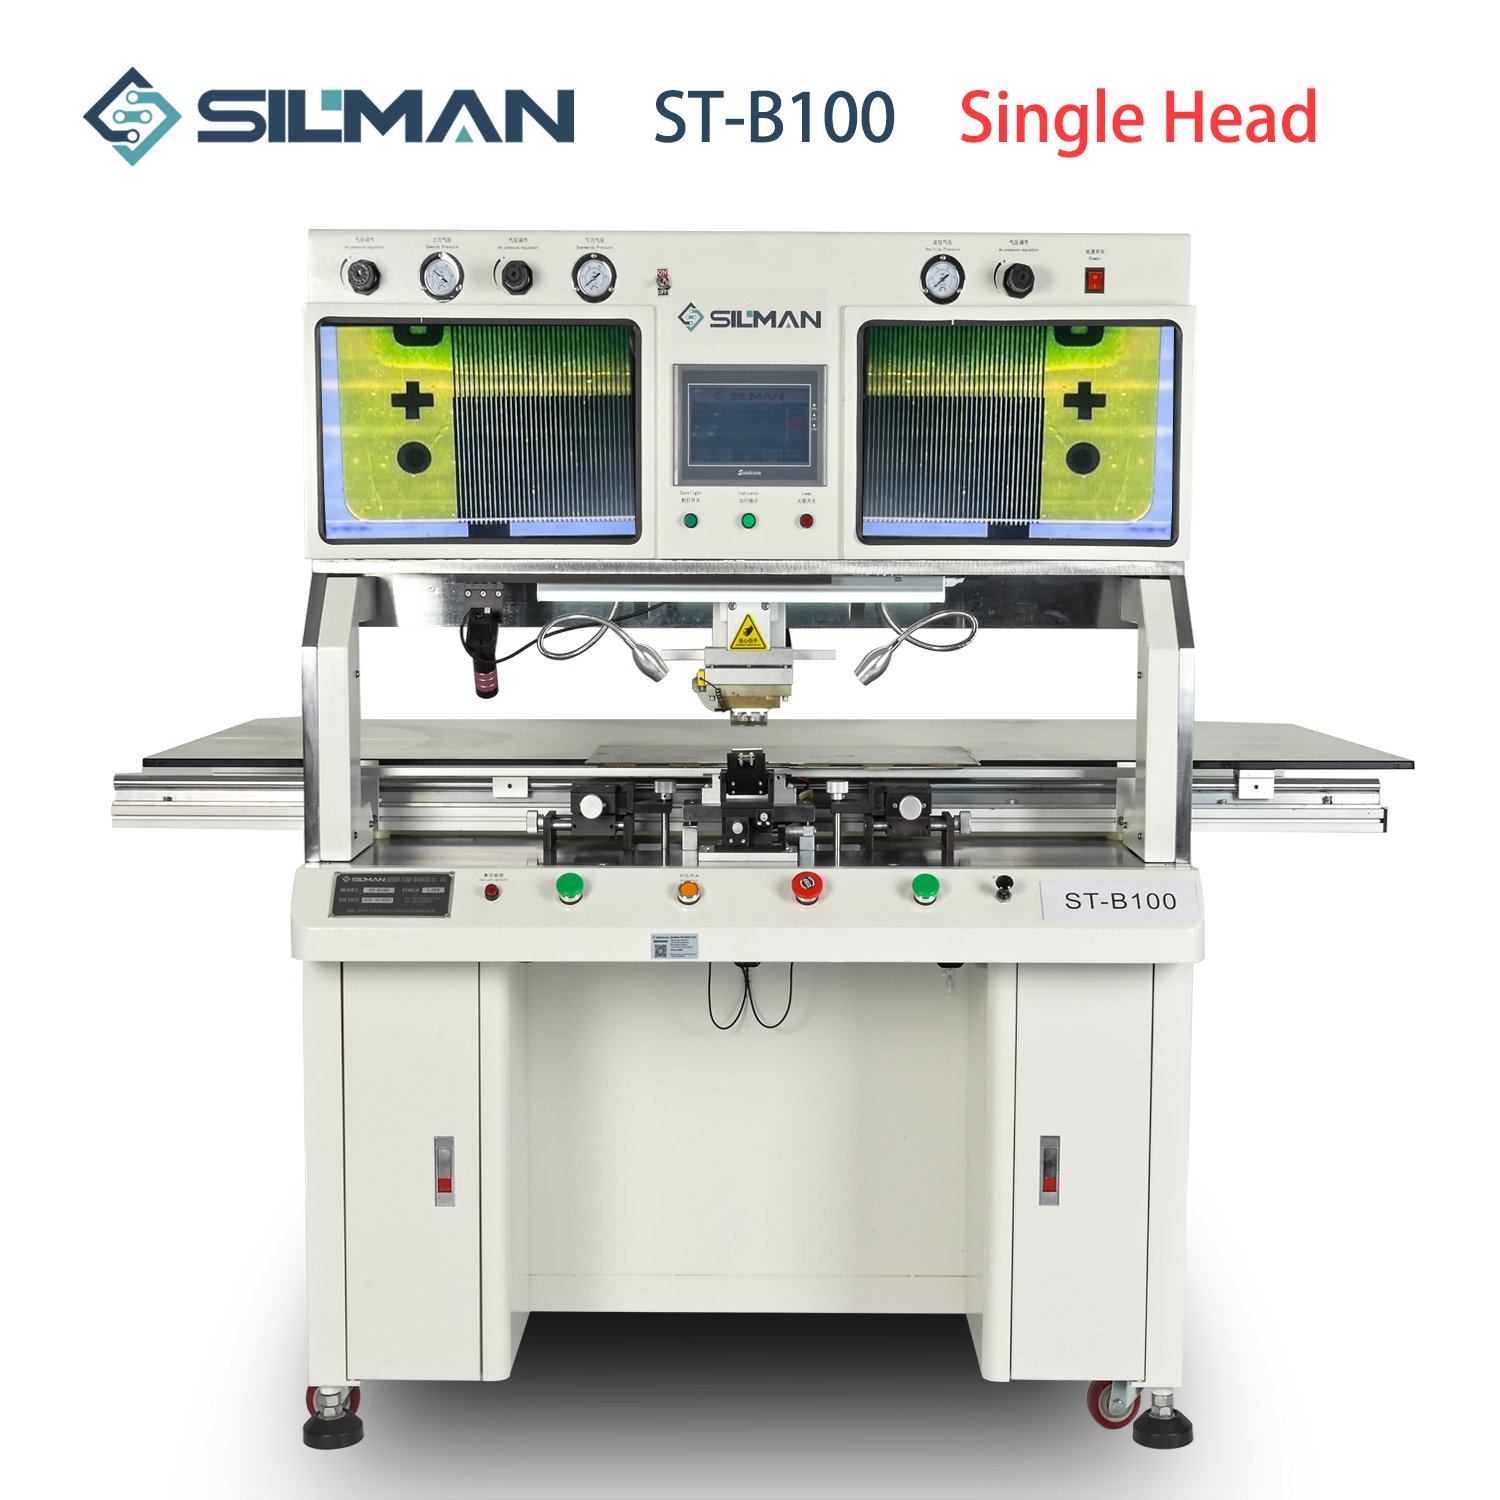
Step one
press the “Power Switch” to start the screen press.
Step two
adjust the parameters to adjust the various parameters of the machine, including the positioning air pressure (recommended to adjust to 0.04); the onset of the sword (it is recommended to adjust to 0.32);
Step three
clean and clean the crystal bar, the knife head, the glass electrode up and down, remove the stains and make it clean. Mode selection:
Step four
whether the hot pressure is PCB board or TCP board selection mode
Step five
the header of the knife head: press the “pair switch” to press the knife head down, move the camera, and let the knife head parallel to the left and right in the imaging of the monitor. Press the “pair switch” to reset the header head.
Step six
Fixed glass electrode pairing: Place the glass electrodes on the crystal bar, move the glass, parallel the two sides, press the “pair switch” to re -meet the knife head with the glass electrode, and then press the “vacuum adsorption adsorption “, Fix the glass with the platform.
Step seven
Prepare heat pressure: 1. Cover the TAB and put the tab to the screen electrode range (note that the two sides should be close together).
Mix the TAB level and pull the tape to the screen electrode range (the video electrode is used to pull the tide plastic position).
Click the “pre-pressure” on the touch screen to press the head to press down, and then select the “heating” on the touch screen. Generally heating to (40 ℃ -100 ℃), stop (click “Pre-pressure”) Pay attention to pre -pressure temperature should not be too high.
2. Pick up the fixture and clean the screen electrode (note that you can only wash in one direction when cleaning, and the cotton swab must be rotated)
3. Tlow off the paper conductive paper and place the TAB to the screen electrode accurately.
4. Observe whether the TAB is horizontal, and then adjust the TAB electrode with the right and right to coincide with the screen electrode (note that the two electrodes cannot be completely aligned, and there will be deviations. In order to match the two electrodes, the TAB electrode will swell on both sides after heating).
5. Press “Pre-pressure” to press down the head of the knife and observe whether the TAB electrode is shifted. Essence
Step eight
Formally hot pressure:
1. Put the silicone skin above the glass electrode, change the “manual” to “automatic” on the touch screen and press “Start 1” and “Start 2” together with both hands. To.
2. When the glass is tied, loosen the fixture, clean the PCB edge electrode, and tear the paper on the conductive glue of the TAB edge electrode.
3. Press the “pair switch” to press the head of the knife down, hold the knife head in one hand, and move the screen in one hand, so that the edge of the knife’s head is just pressed the edge of the tab, that is, the reunion.
4. Put the iron chlorine dragon, do not need to change the knife with a single knife, change the knife when the double knife, click the “right knife” on the touch screen, and then automatically change the PCB edge mode mode. 2″


