Overview
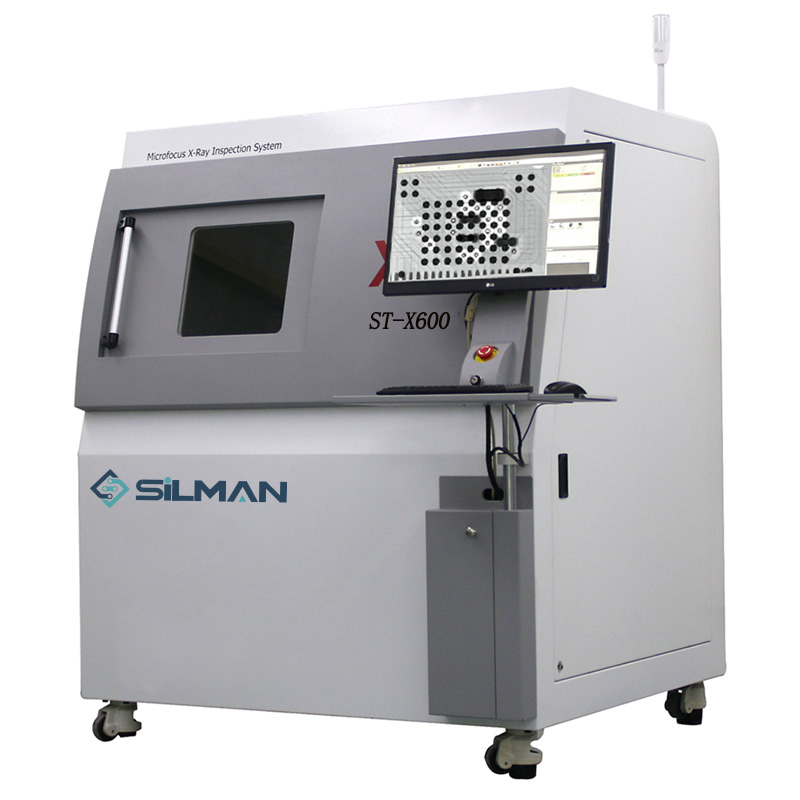
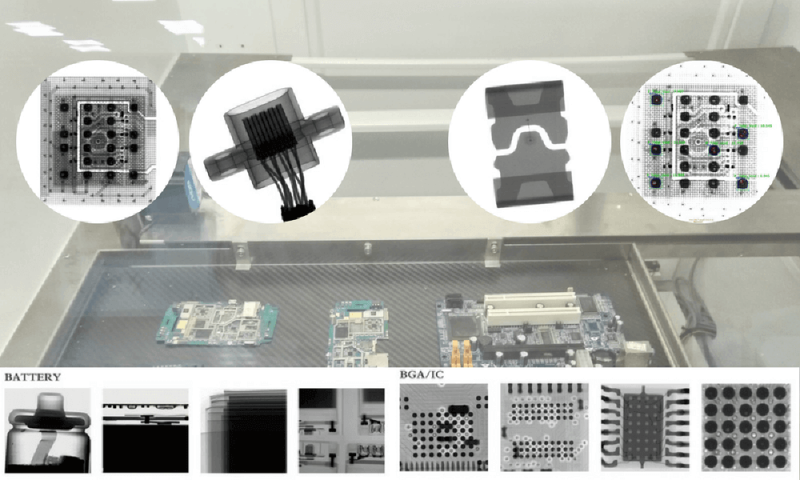
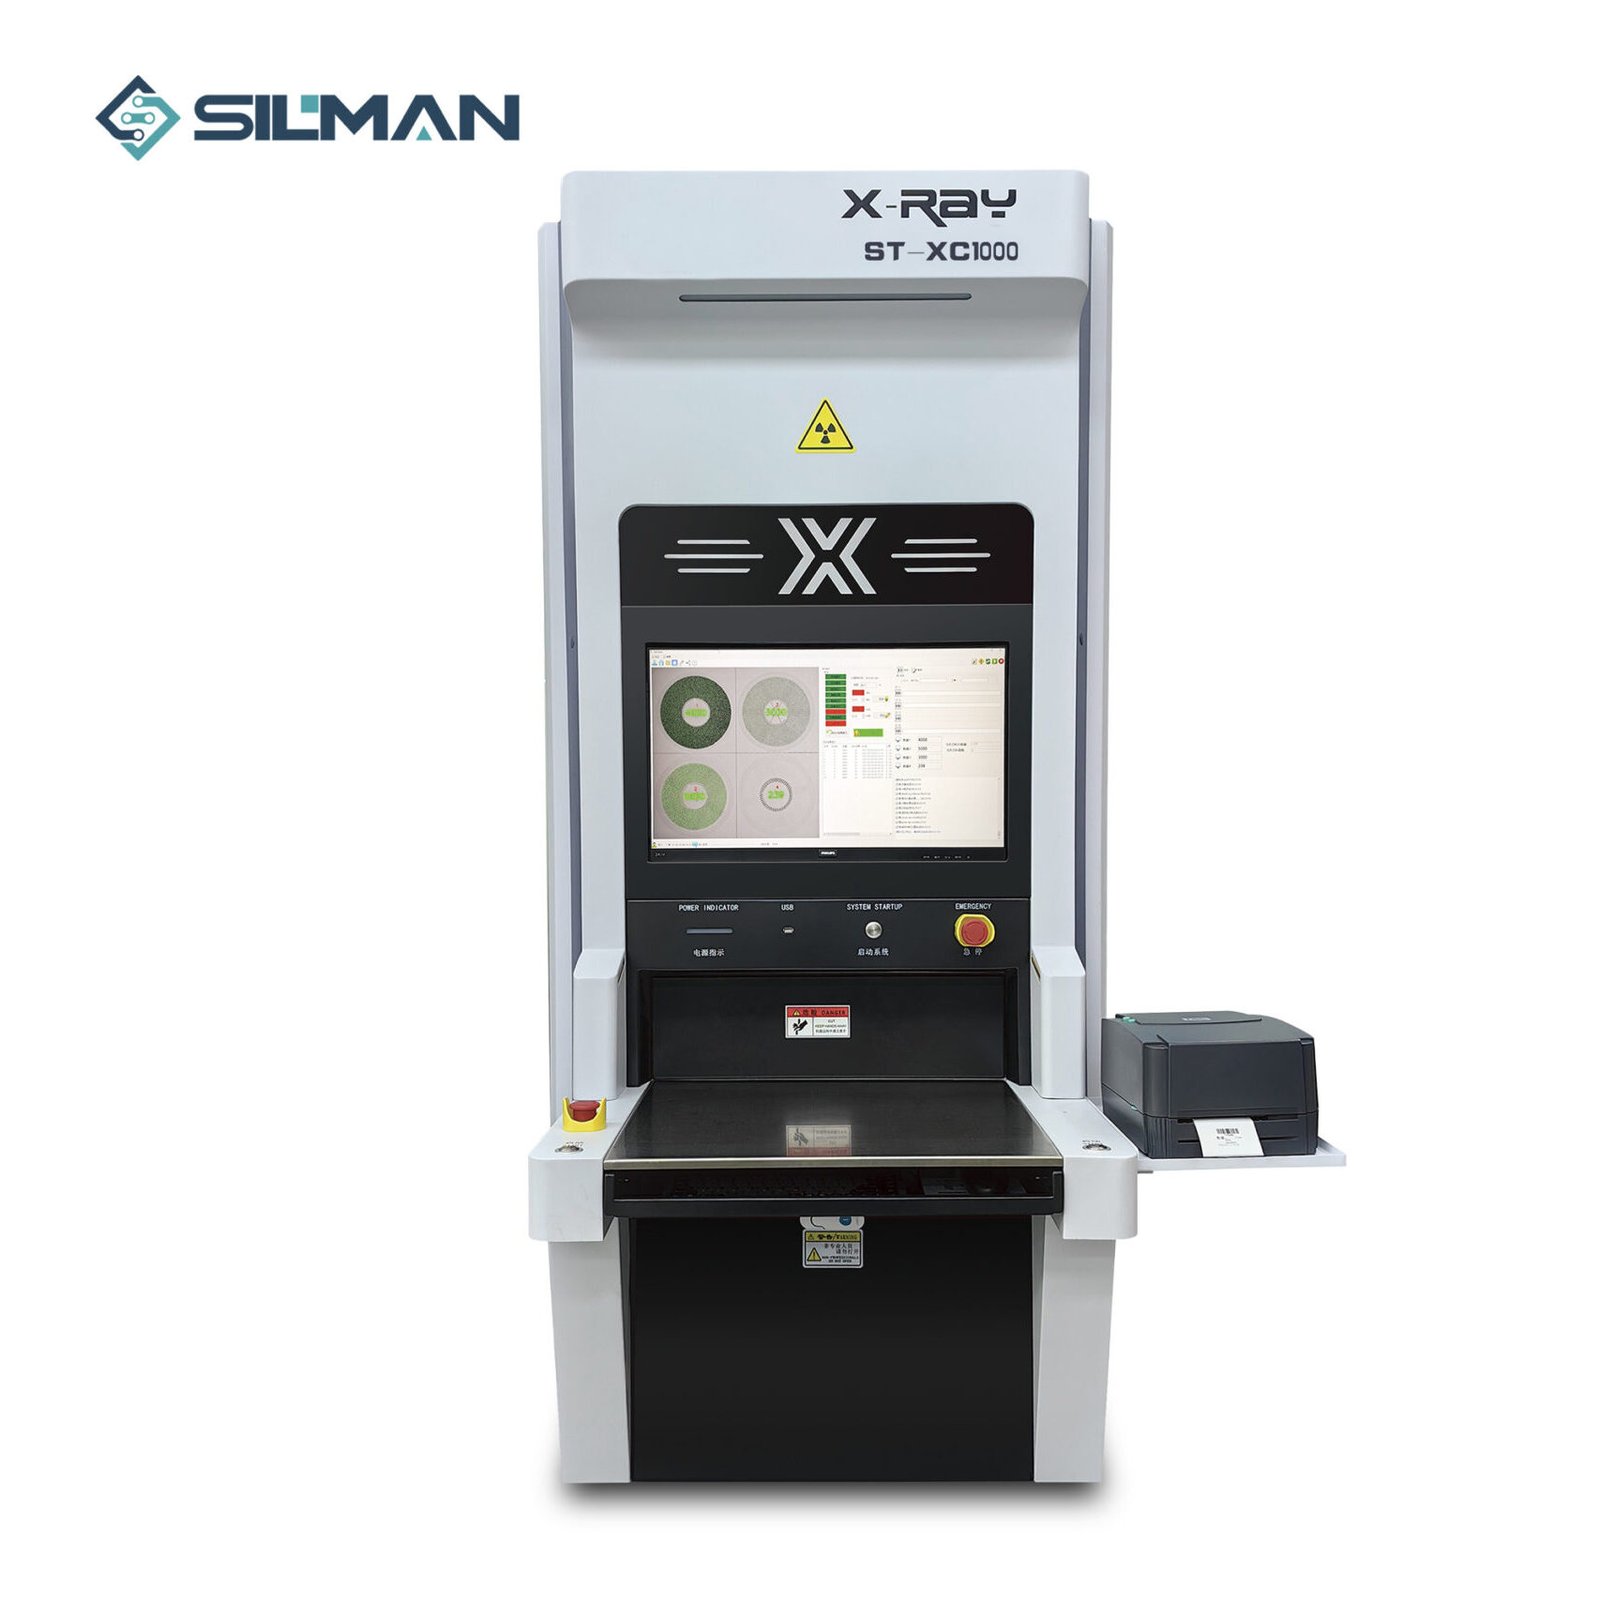
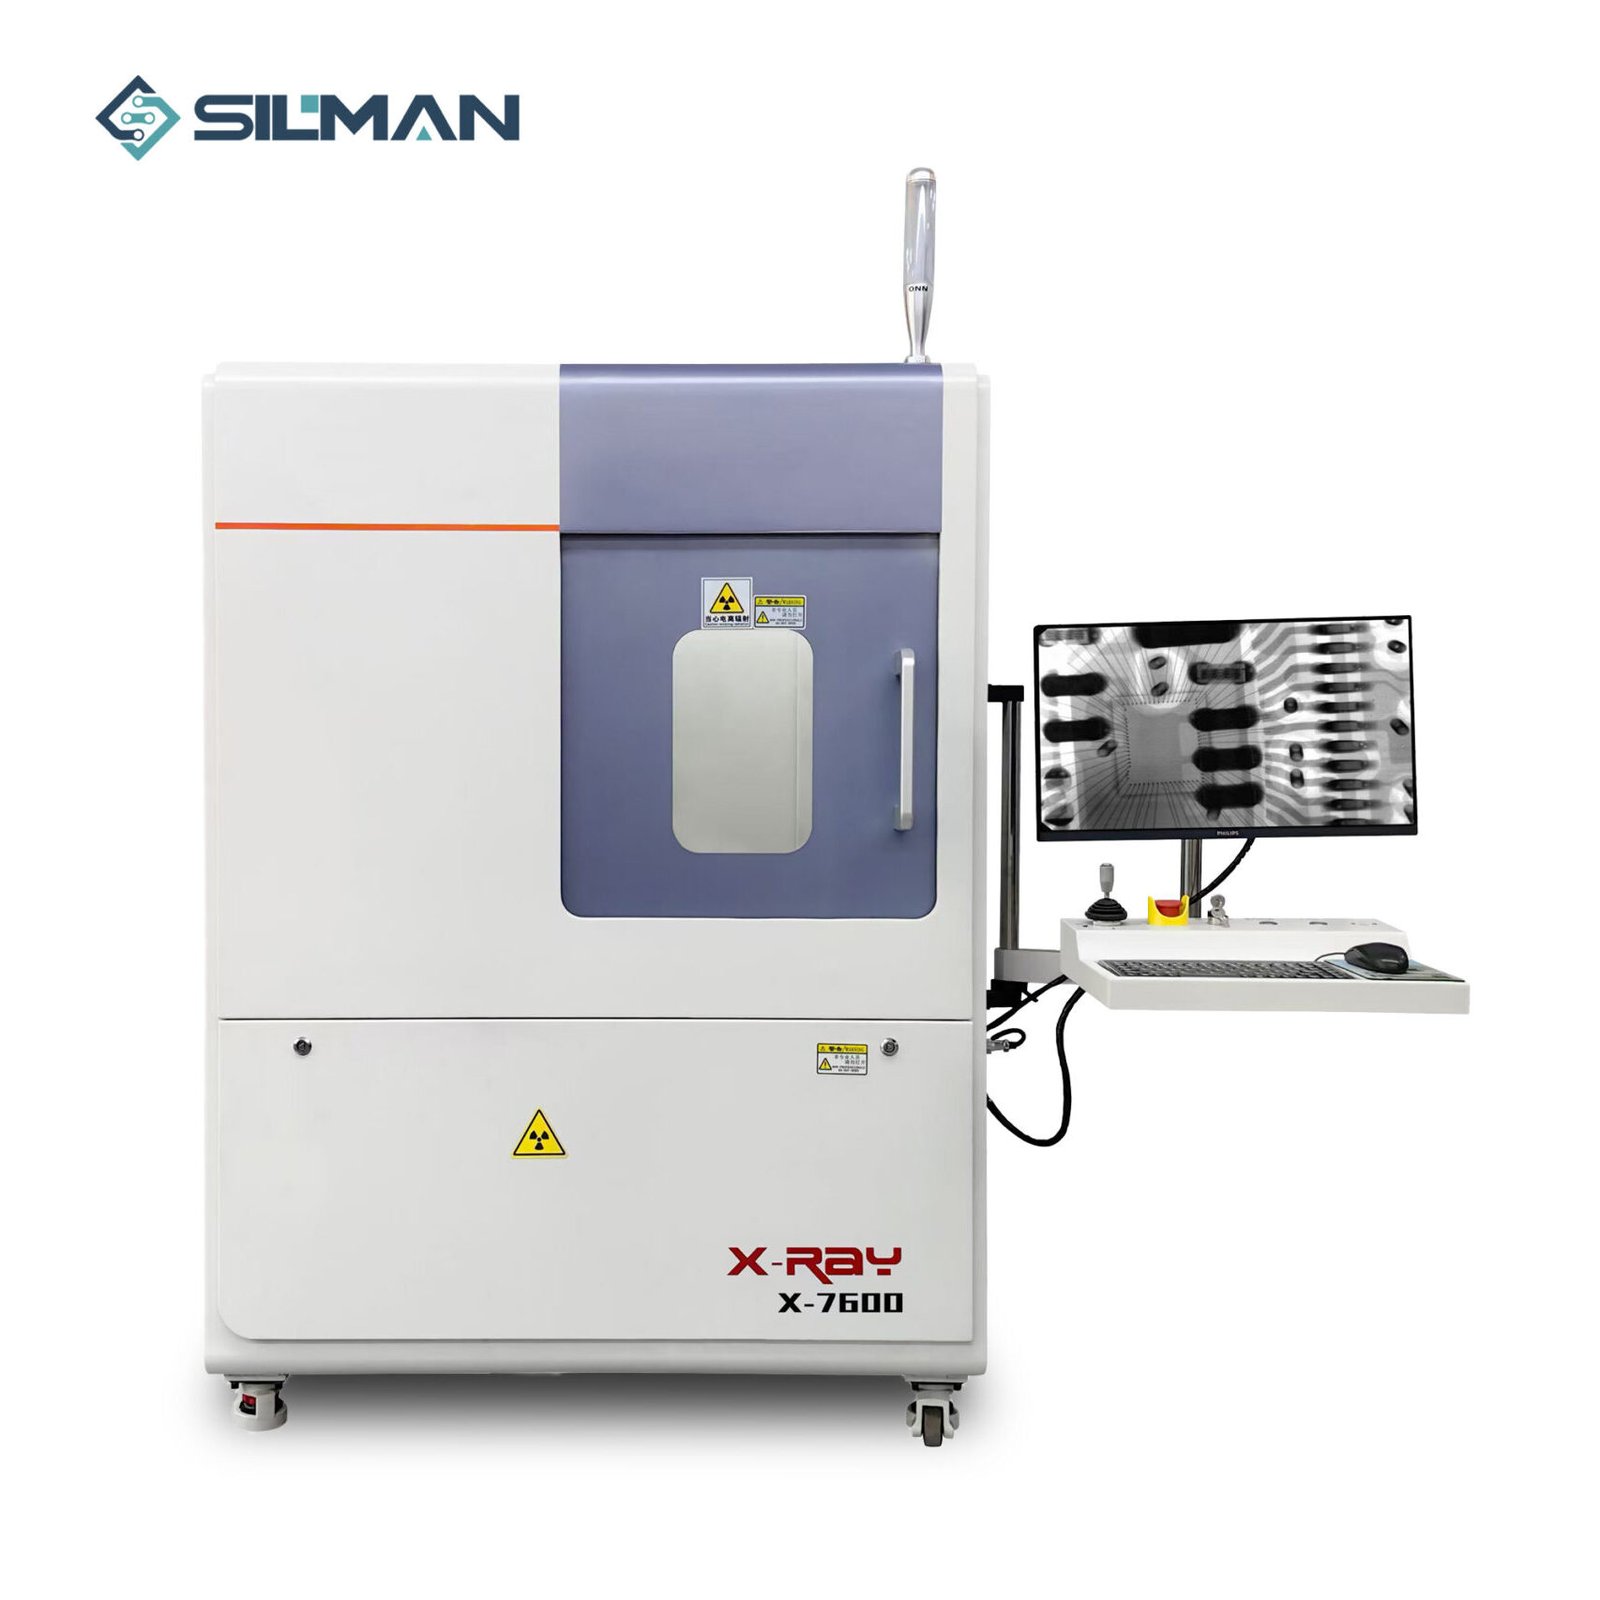
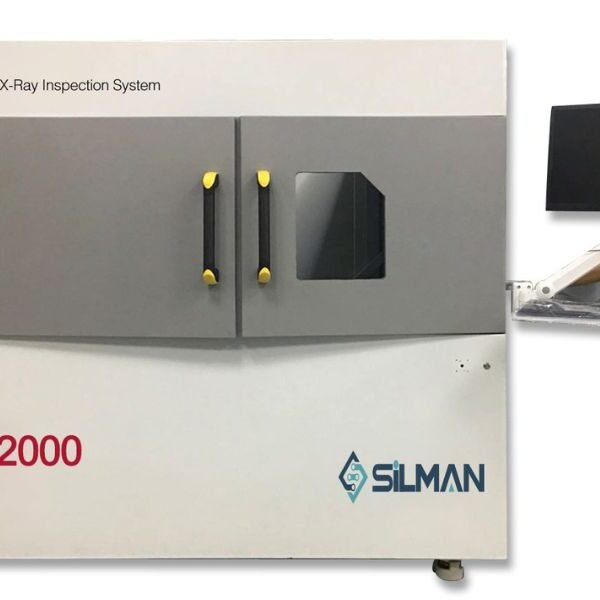
Semi-automated rework x-ray system for none destruction inspection of SMD, BGA, QFP, CSP, sockets, Micro-SMD components solder joints, material quality etc.
X-ray Inspection System X6600
- SMT/Semicon/Solar/Connector/LED
- High-definition image: Slanting/Bridge/Voids/Cold Solder/Bonding wire
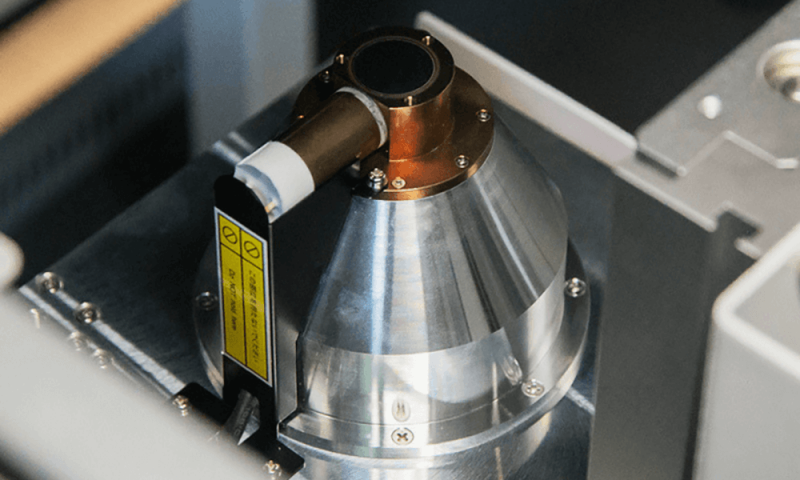
- 90KV 5μm closed X-ray tube,with long life,maintenance in free
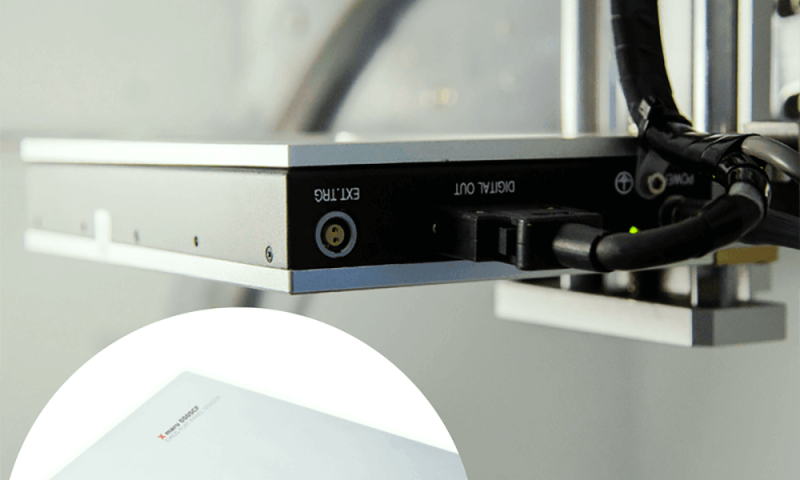
- 1.3 mp digital flat panel detector
- 30 degrees observation
- Color image navigation, easy to use
- Automatic programming detection and automatic analysis NG or OK
- More modular panels observation point setting
Application
1) Defect inspection in IC encapsulation, e.g.: layer separation, cracking, void, and line integrity.
2) Measuring chip size, measuring line curvature, measuring the proportion of solder area of components.
3) Possible defects in PCB manufacturing processes, e.g.: misalignment, solder bridge and open.
4) SMT solder short, cold solder, component shifted, solder insufficient, solder void inspection and measurement.
5) Defect inspection of open, short or abnormal connections that may occur in automotive wiring harnesses and connectors.
6) Inner rupture or hollow inspection in plastic or metal.
7) Battery stacking uniformity, electrode welding inspection.
8) Seed, biological material inspection etc.
Inspection System
| Items | Contents | |
|---|---|---|
| Model | X-6600 | |
| X-RAY launch tube | Tube type | Closed X-ray tube |
| Maximum tube voltage | 90kV (100, 130kV Optional) | |
| Maximum tube current | 0.15mA | |
| Focal spot size | 5μm | |
| Magnification | Geometric magnification:150X | |
| System magnification:1000X | ||
| Detector | Image speed | 30 fps |
| Resolution | 1176*1104 | |
| Inclined Angle | 60° | |
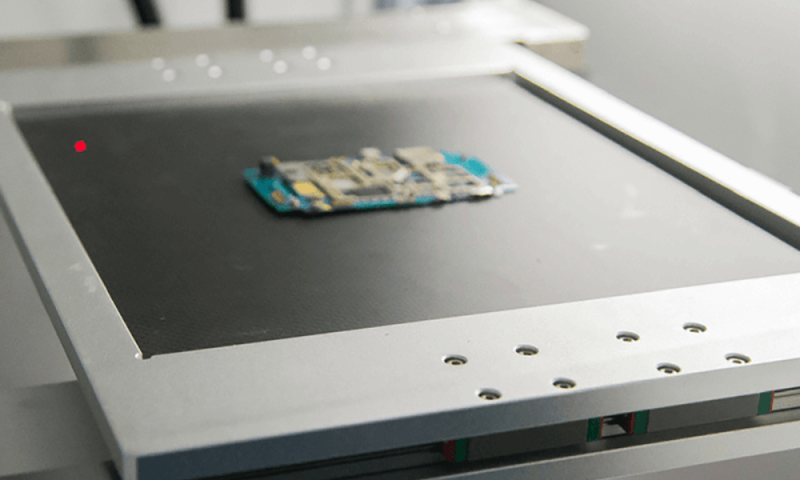
| Cabinet Specifications | Table size | 540mm*450mm |
| Dimension | Length: 1360mm, width: 1360mm, height: 1650mm | |
| Net weight | 1300kg | |
| Input voltage | AC 110V - 220V ±10%(Standard power supply) | |
| X-ray leakage amount | ≤0.3 u Sv/hr | |
| Operating system | Windows 7 Seamark 6.0 | |
| Total power | 1700W | |
- Additional 1 year warranty


